
Tom's Thumb


Today we hiked to the base of Tom's Thumb, a huge monolith atop a mountain (in the middle of the photo above). Being a Floridian and used to flat land, this was a tough hike for me (it kicked my arse if you want to know the truth). It also got really hot on the climb down which didn't help things. I anticipate non-functional legs tomorrow.


A yellow velvet ant!


We walked right up to this rabbit, I suspect people feed it.


Not sure what kind of lizard this is...will have to look it up and update when I'm not so tired.


A little more than halfway up.


My Dad photographing me taking his photograph.


Almost there!


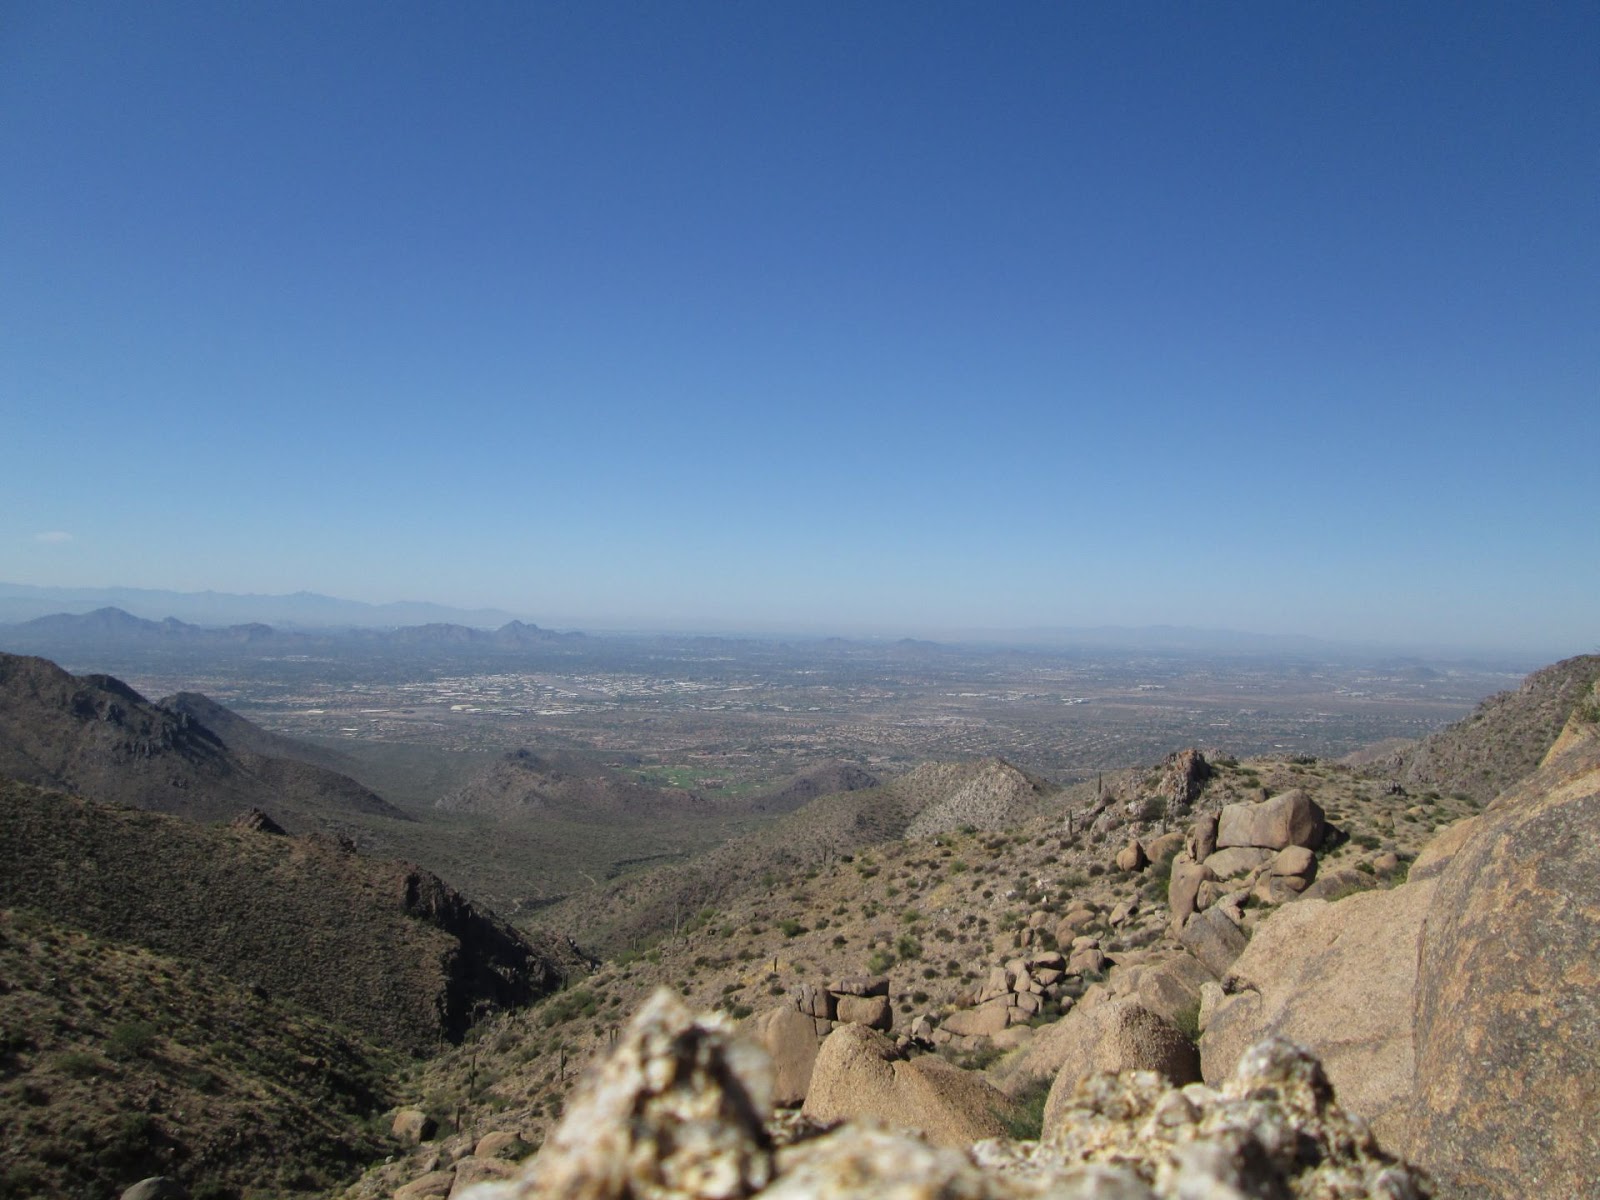
The view from the base of the Thumb. Rock climbing gear is required to get to the top.


It's still pretty high up at the base!


Comments

Popular posts from this blog

Day 16 - A Word for That

"Invent a new word and illustrate or demonstrate its meaning" " PETASUSAURUS " Noun . A lizard, preferably a chameleon, that is placed on the head to control bothersome mosquitoes. From the Latin,  petasus , meaning "hat" and the Greek,  sauros . meaning "lizard;"  or literally, a "lizard hat." Modern usage : " Hey man, nice petasusaurus! " (I haven't drawn in anime style for ages!) (October 17, 2016) Update: I've been corrected, "Hey (wo)man, nice petasusaurus!" Thanks, AS

How I Make Tiny Art Books

  Moon Phase & Black Cat Version II Tiny concertina softcover art book, 1-1/8" square I have loved tiny books since I was a kid, and I used to both collect them and make them. I usually made them with staples, because as a kid, that seemed like the most logical binding, but I also experimented with string, tape, and brads. I would draw comics in them, usually cats, after they were bound, which was rather ass-backwards of me.  So now I'm a wee bit older and I still love making books (and I still have 4 tiny books from my original collection). I wanted to show how I made this one, which is composed of thick black paper, parchment style paper, hand-carved stamps, and a ribbon closure. All materials are archival safe. How it's Made: It always begins with a pencil drawing. After sketching out the moon phase cats, I transferred the drawings to pink stamping material and carved each one by hand. I love the primitive look of hand stamping and I wanted this book to be reprodu

Creating a Linoleum Block Print

Maneki Neko , completed July 23, 2015 Here is a photographic illustration of how I make lino block prints...  original pencil sketch Every lino starts with a sketch. Often I will flip the image (and resize if necessary) using the computer. Sometimes I can trace onto the block directly from the original. Here I am using graphite paper to transfer the drawing (which is under the white paper in this photo). Note that the image has been flipped. Since I work primarily on a small scale (usually smaller than 2" x 3" - 5 x 7.5 cm), I typically use just three blade types for cutting the design into the linoleum: the #1 V blade for details, the #2 V blade for further outlining, and the #5 U blade for removing the excess linoleum. Here I have cut the detail lines and the outline once with the #1 blade. This is the second outline with the #1.  I widen the outline around the image in stages for two reasons. First, one is less likely to