"Teach us how to do something"

"I Can't Hide...My Larva for You!"
This is how to make a pretty simple pop-up greeting card.
Mine features a green lacewing larva and super cheesy pun,
but your design can be whatever you want.
*Materials*
card stock
glue stick
scissors
pencil
images
pens/markers/colored pencils (optional)
colored paper/origami paper (optional)
Cheesy pun or sentiment (optional)

1. First, gather your cardstock. You will have an outer and inner card. My outer card is the white one. It is 3" x 3", but yours can be any size. The kraft colored cardstock is the inner card. It is slightly smaller than the outer card.

For comparison

2. Next, decorate the front of the outer card any way you like and set it aside.

Mine is pretty simple - I glued on some origami and kraft card stock and
wrote on it with a sharpie and gelly roll pen.

Next, I'm going to start working with my pop-up pieces.
I'm starting with a stamped image of my green lacewing drawing (it's holding an aphid in its jaws-they love aphids). You can use any image you want; a drawing, a photo, or a magazine clipping.

3. For stability, (unless it is already on thick paper), glue it to a piece of cardstock.

4. Then cut it out.

5. Use it to measure where it can go on the inner card of your pop-up.
The idea is to keep it from sticking outside of the card when it is folded.

6. Fold the inner card backwards on its crease and cut to your mark on two sides.


7. Fold it back the way it was originally, and bump out the tab you just cut.
All the folds should be at right angles.
Then make more pop-out pieces!
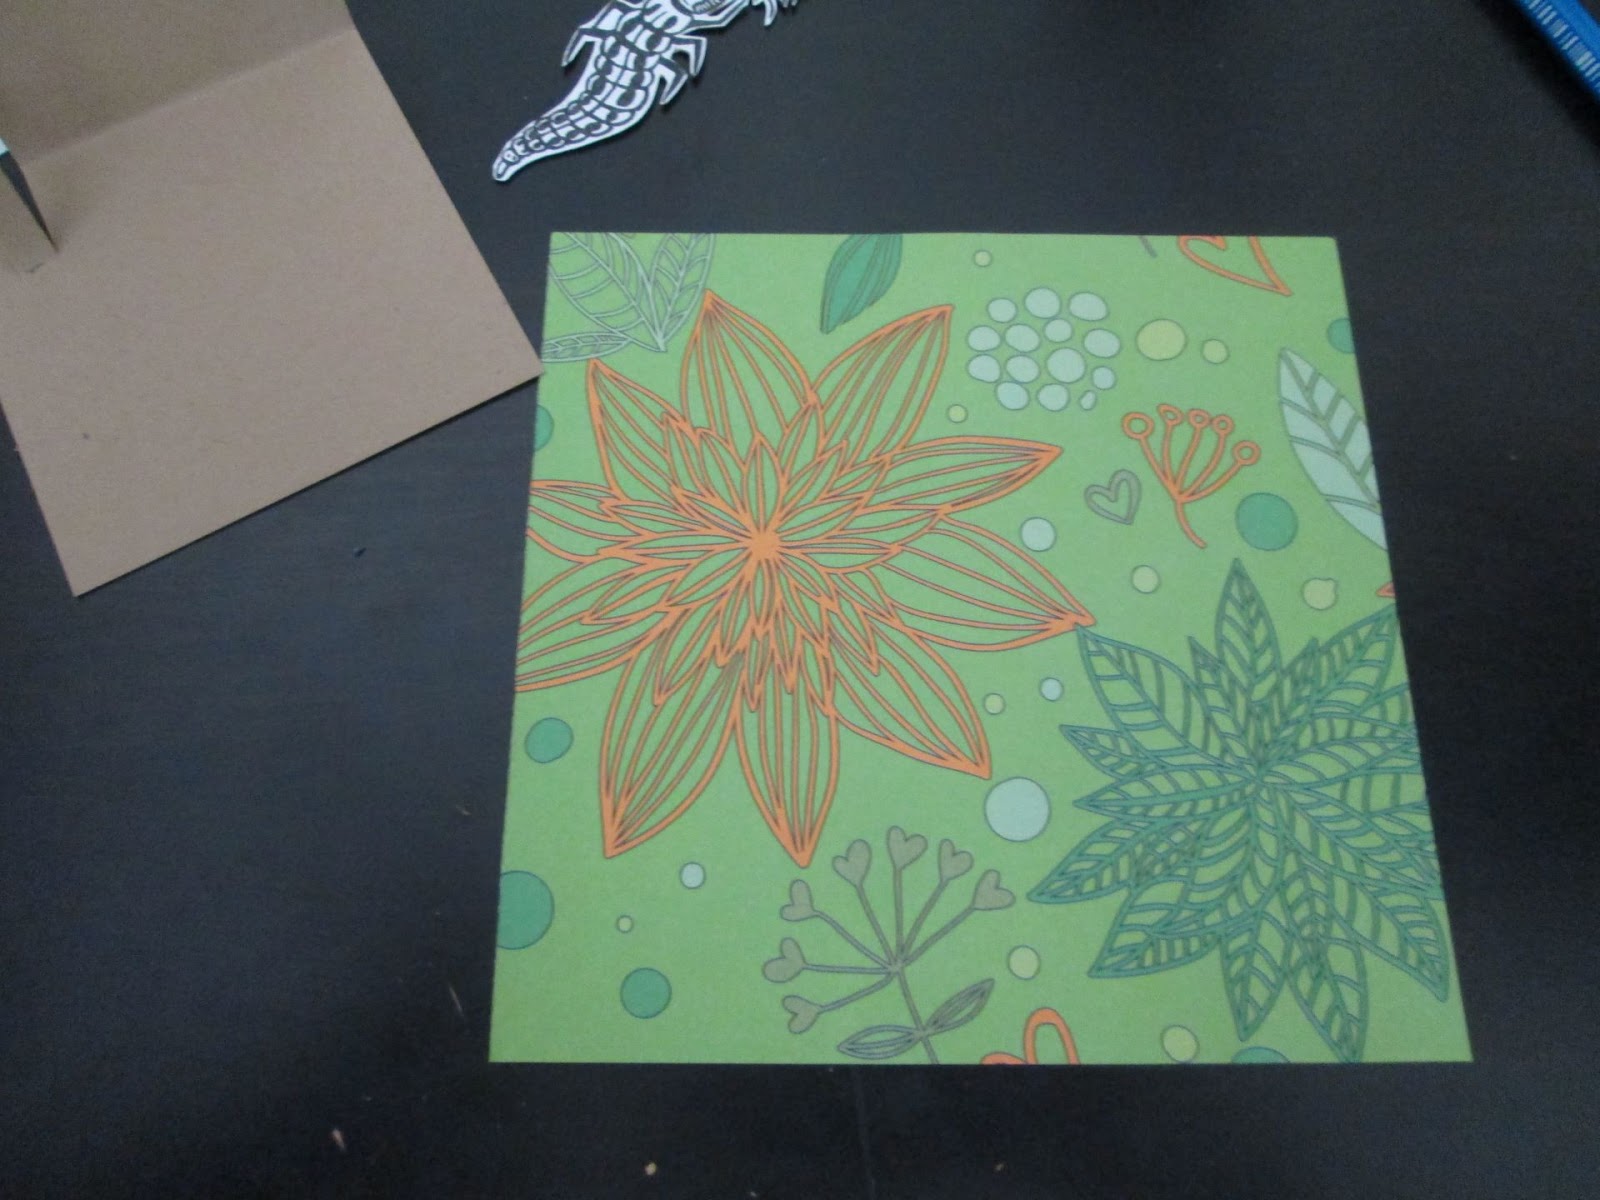
My next piece will be cut from this origami paper.

Repeat steps 3 & 4 - glue it to some cardstock and cut it out.

Then repeat steps 5-7 to add another pop-up tab to the inner card.


Flip the card on its crease again

This is what it looks like when the tabs are popped out and the card is folded in the right direction.


Repeat steps 3 & 4 to make another pop-up piece - glue it to some cardstock and cut it out.
8. Next I'm going to make a paper "button" for a different kind of pop-up effect:

A. Take a strip of paper
B. Fold it in half, and open it up again
C.Fold up one half, aligning the edge with the crease you made in step B,
and fold the now lower strip over the edge of the upper strip.
D. Take the lower strip and fold it over the upper strip.
E. Keep folding lower strip over upper strip
F. ...again...and again....
G. Until it looks like this- a "button". Glue the top fold to secure it.

9. Glue the "button" to the back of your pop-up piece

10. Glue the otherside of the button and affix it to the inner card where you want it.

11. Take your next pop-up piece and glue it to the tab
(make sure it is the tab you measured for that piece!)

12. Glue your final pop-up piece to its tab

13. Next, write a sentiment on the inner card if you'd like. Then grab the outer card.

14. Glue the back of the inner card and press it down inside the outer card.


Done!

[June 26, 2016]
Comments
Post a Comment