
Devil-Riders on Holiday

Devil-riders: walkingsticks in the family Pseudophasmatidae (see the little male?)


Okay, it's actually my holiday.  To make a long sordid story short, I missed my exciting August travel-vacation and have instead settled on a much quieter retreat at home this week in September. This afternoon was spent fixing up the dirt patch.  Weeds and scorched plants were pulled, compost and mulch were added, and an additional layer of stones was added to either end of the run-off area. While moving a crate out of the way I noticed these two-lined walkingsticks, aka devil-riders.  I don't know anyone who has actually called them devil-riders, except insect books, and people quoting insect books. The female is about 4 inches long, and the little male will stay coupled with her for days while hitching a ride on her back (females can be hard to find when you can't fly). These guys are found in the southeastern US, but are particularly abundant in Florida, and they are vegetarians. Seeing them coupled like this is another sign that fall is on its way - thank goodness.  One more note on the devil-riders, I myself have never been on the receiving end of their chemical defense, which can cause temporary blindness if sprayed into the eyes, but I would recommend anyone proceed with caution just in case.  Best-case scenario, it smells awful.


Returning to the Dirt Patch, this curly-haired cow was very interested in my mulching activities and watched me the whole time:


The brown cow ate the weeds I threw over the fence.  


The mulch really accentuates all the bare patches where things died over the summer.  The annuals and creeping thyme (between the pavers) especially took a beating.  Next on the gardening agenda is to sow winter seeds, a task which has been on the agenda since July...

Sunflower Helianthus annuus 'Shock o Lat'


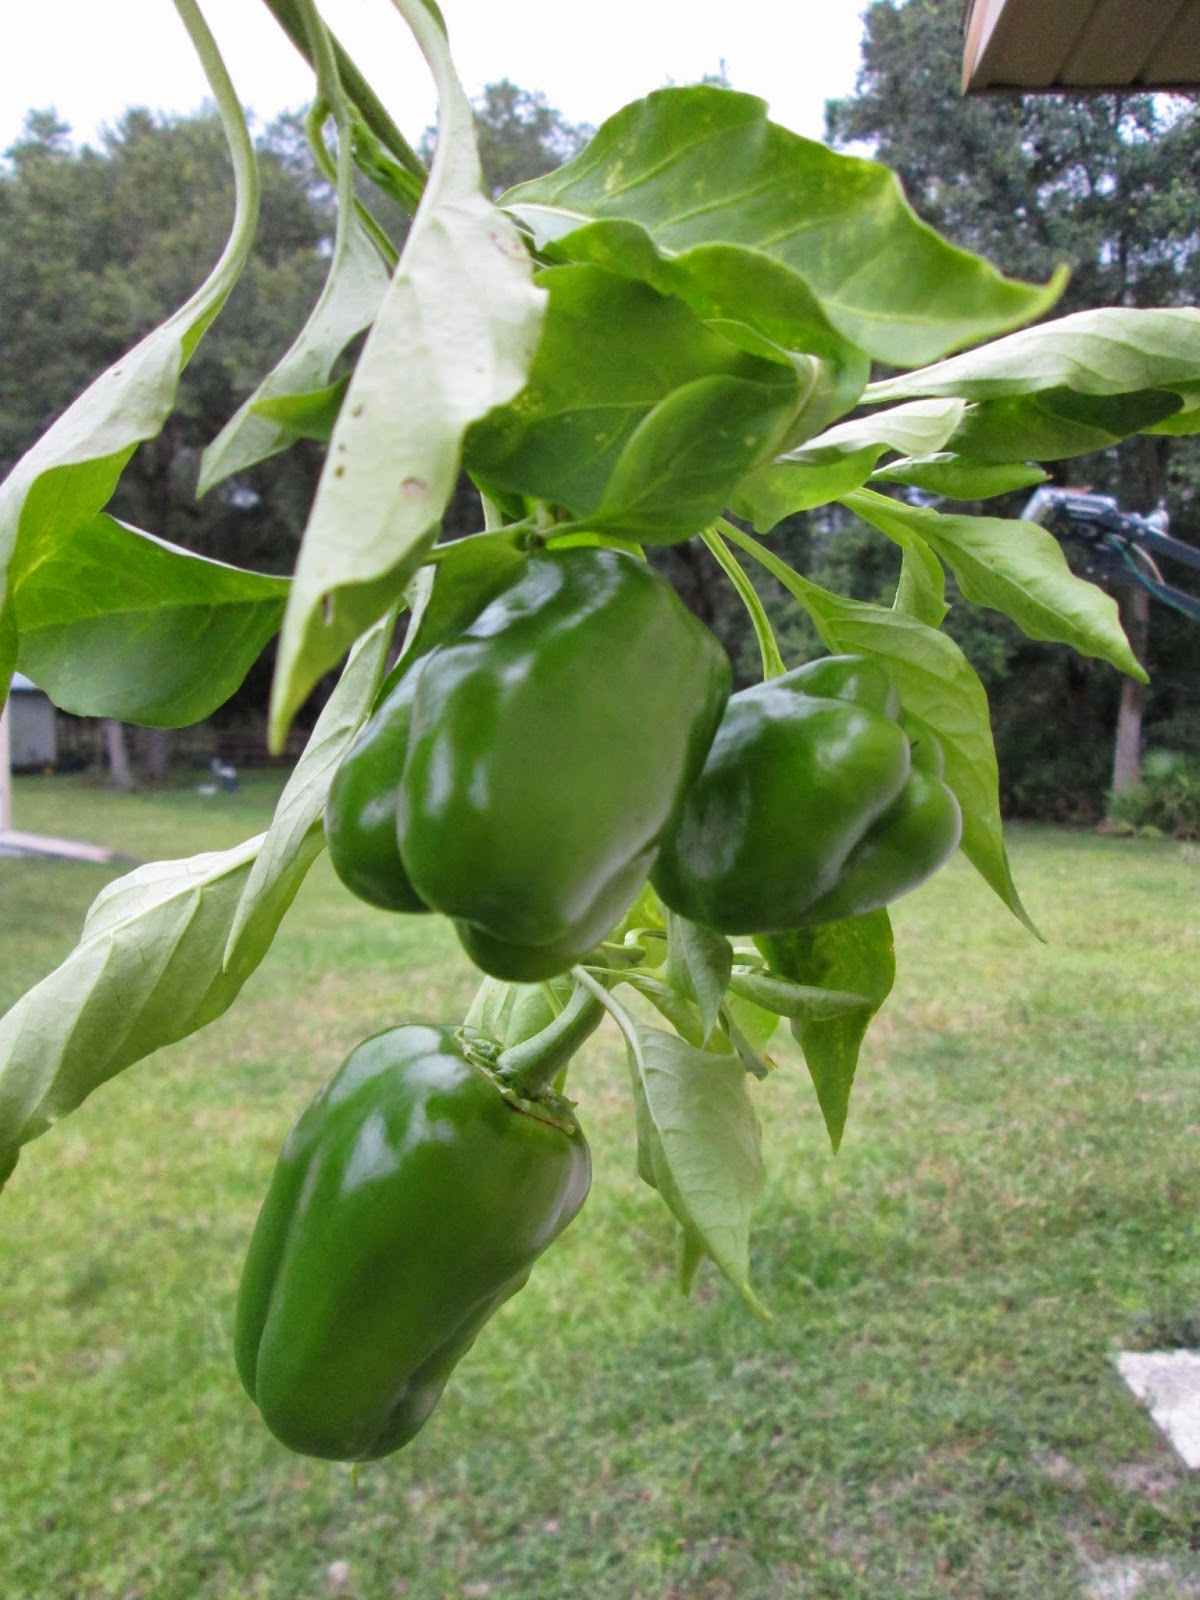
I accidentally broke off this branch of bell peppers while mulching.  They're smaller than they appear in the photo.  Perhaps I will make some stuffed peppers.  

Comments

Popular posts from this blog

Day 16 - A Word for That

"Invent a new word and illustrate or demonstrate its meaning" " PETASUSAURUS " Noun . A lizard, preferably a chameleon, that is placed on the head to control bothersome mosquitoes. From the Latin,  petasus , meaning "hat" and the Greek,  sauros . meaning "lizard;"  or literally, a "lizard hat." Modern usage : " Hey man, nice petasusaurus! " (I haven't drawn in anime style for ages!) (October 17, 2016) Update: I've been corrected, "Hey (wo)man, nice petasusaurus!" Thanks, AS

How I Make Tiny Art Books

  Moon Phase & Black Cat Version II Tiny concertina softcover art book, 1-1/8" square I have loved tiny books since I was a kid, and I used to both collect them and make them. I usually made them with staples, because as a kid, that seemed like the most logical binding, but I also experimented with string, tape, and brads. I would draw comics in them, usually cats, after they were bound, which was rather ass-backwards of me.  So now I'm a wee bit older and I still love making books (and I still have 4 tiny books from my original collection). I wanted to show how I made this one, which is composed of thick black paper, parchment style paper, hand-carved stamps, and a ribbon closure. All materials are archival safe. How it's Made: It always begins with a pencil drawing. After sketching out the moon phase cats, I transferred the drawings to pink stamping material and carved each one by hand. I love the primitive look of hand stamping and I wanted this book to be reprodu

Creating a Linoleum Block Print

Maneki Neko , completed July 23, 2015 Here is a photographic illustration of how I make lino block prints...  original pencil sketch Every lino starts with a sketch. Often I will flip the image (and resize if necessary) using the computer. Sometimes I can trace onto the block directly from the original. Here I am using graphite paper to transfer the drawing (which is under the white paper in this photo). Note that the image has been flipped. Since I work primarily on a small scale (usually smaller than 2" x 3" - 5 x 7.5 cm), I typically use just three blade types for cutting the design into the linoleum: the #1 V blade for details, the #2 V blade for further outlining, and the #5 U blade for removing the excess linoleum. Here I have cut the detail lines and the outline once with the #1 blade. This is the second outline with the #1.  I widen the outline around the image in stages for two reasons. First, one is less likely to